Get The Most Out Of Your Grain
Originally created as a forum FAQ, this guide provides a high-level understanding of grain and malt handling and how to maximize yields. This guide covers strategy, policy, and important points and reminders.
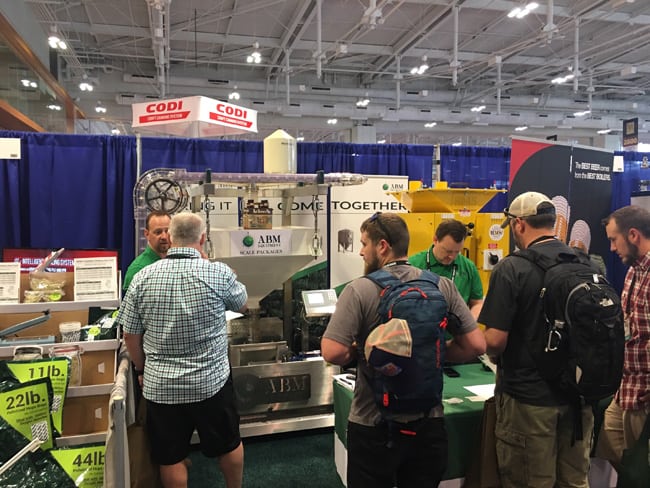
The video is an interview by CPB Connects with our co-owner, John Cassa.
Inventory
Grain is your most expensive ingredient and the prices are highly volume-sensitive; The goal is to make the largest orders possible without stock going bad or running out and halting production.
1. Use Your Malt Within About 3 Months.
(This time is less when using BBUs, bags, or within hot and humid environments, and more in cool, dry climates.) As far as spoiling and most recommendations go, 3 months is erring on the side of caution. But staling impacts your beer long before it spoils. Grain lasts but don’t push it.
2. Order Early.
Lead times are real and production delays hurt; any lost savings on grain serve as insurance against inventory gaps. Not to mention that suppliers like extra notice.
3. Take Inventory Regularly.
Keep lead times in mind and stick with suppliers who prove themselves reliable. Smaller breweries can do with a simple chart to manage inventory, but larger operations that change recipes often may benefit from supply-chain management software.
4. Rotate Your Specialty Stock.
It can be tempting to throw the new stuff on the old, so if hired hands are receiving product keep them accountable.
Ordering Options
1. ~50 lb. Pre-Milled Bags
These are not recommended because malt begins to degrade immediately after milling. As product is ground its surface area increases exponentially, exposing it to much more oxygen.
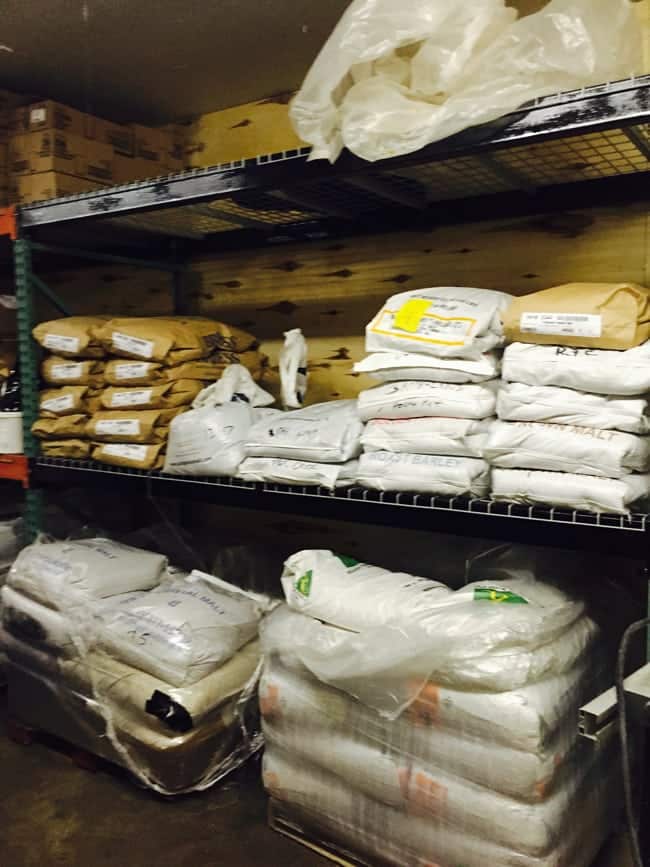
2. ~50 lb. Standard Bags
These are usually shipped in units of about 40 bags per pallet and require a pallet jack at minimum. A forklift is preferred because they allow use of pallet racks, which provide savings on shipping costs. Remember to rotate stock to prevent oxidation or staling.
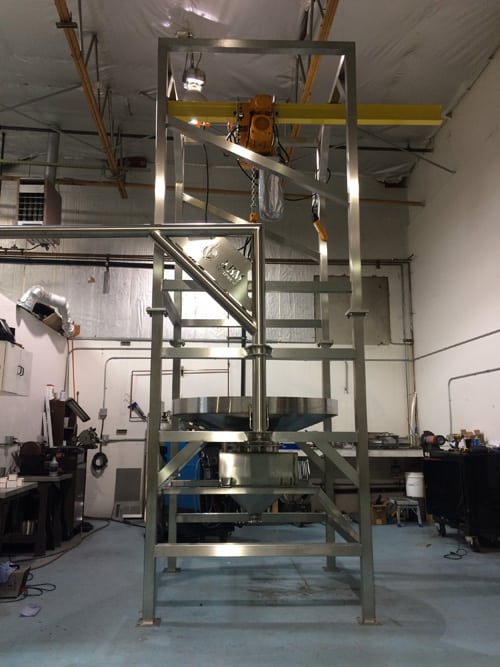
3. Bulk Bags/Super Sacks (~900 lbs. – ~1600 lbs., ~2700 lbs.)
Forklifts and bulk bag unloaders are necessary for this option, but they’re preferable to 50 lb. bags, require little handling, and can dump straight into an auger or tubular drag system. If no forklift will be used for loading the bulk bag unloader, it can be outfitted with a hoist and trolley for easy bag placement. But since this feature will bring the price near that of a silo, it’s seldom used in any other circumstance.
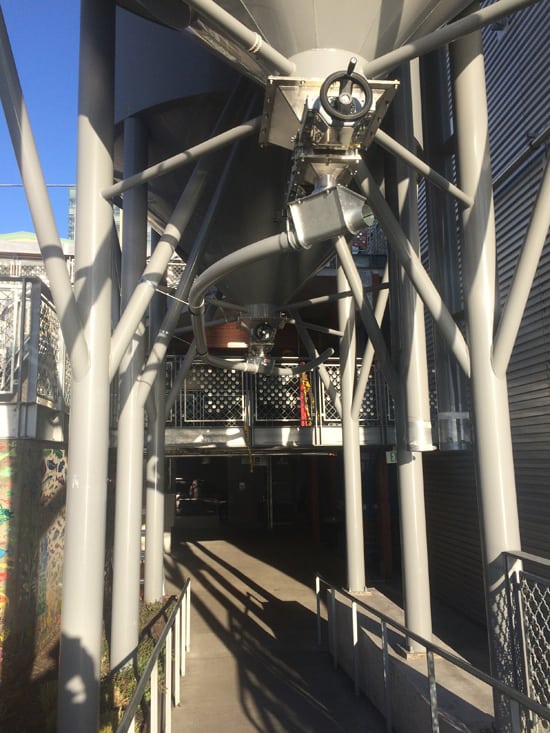
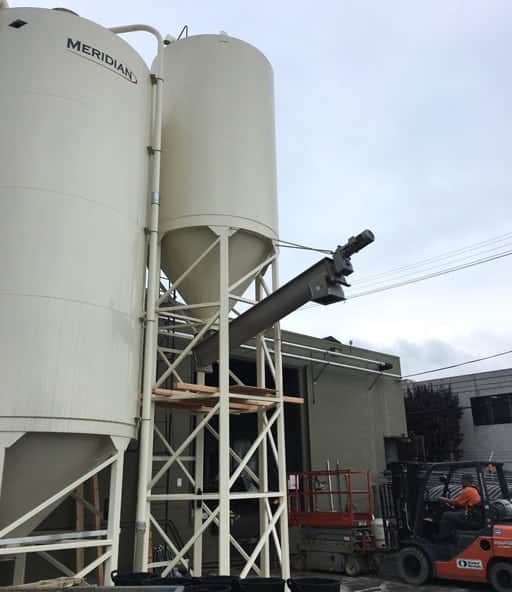
4. Silos (~50,000 lbs.)
Silos are typically used for base malts (e.g. 2 row or Pilsner malt); specialty malt can be handled via bulk sacks or bagged malt. Breweries that produce upwards of ~2,000 BBLs annually will start to see a good ROI for a silo system. Startups with an eye on production should keep future silo placement in mind when choosing their space. Other advantages of bulk receiving is the reduced effort & risk of injury for workers. Delivery via truck is the most common method; rail cars are practical for large breweries.
Key Points To Remember
Once rodents, birds, and insects are attracted, they’re hard to get rid of. Use the correct equipment, float malt pallets away from walls, and sweep around them as needed.
Receiving (Filling Silos)
A typical truckload of bulk malt can be anywhere between 15 – 65 tons depending on type, and there are multiple off-loading options. The most common method is a PD truck that pneumatically blows the malt into the top of the silo. It is advisable to have a brewery team member present during delivery to ensure the truck operator doesn’t push the malt at over ~3.5 p.s.i. Higher pressures and faster rates will damage malt and create unnecessary dust. 2-3 hours to unload a truck is completely normal.
Some types and grades of product can be pushed at up to 5 psi, but some can’t withstand anything over 3. Start with three, work your way up to your limit, then respect it.
Dust buildup is another reason silos should be emptied periodically, as fines in a mix rise to the top. Not only do they degrade immediately and are unfit for brewing, but they attract infestation.) Put a filter bag on the silo exhaust vent — otherwise the dust will be significant and will create an unsightly layer that, again, attracts rodents and insects.
See more about pneumatics here.
See more about silos here.
Key Points To Remember
Most silos gradually leak dust through the discharge gate. Make sure your integrator has a practical solution to prevent this.
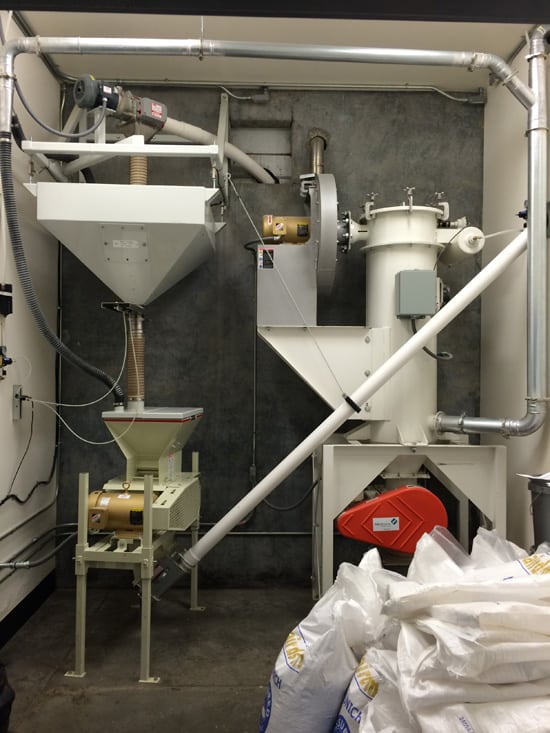
Milling (Grinding/Crushing)
You’re looking for a roller mill with the rate, grind control, and dust control you need. (Hammer mills are not suitable because they crush the grain too finely.) Don’t be fooled by high rate mills with super low price tags. It doesn’t do you any good if your mill doesn’t crush grain small enough or it breaks constantly. You can read about the most popular milling options here.
Rate:
The golden rule is that your mill should never be the choke point. Make sure your mill can finish batches at least as quickly as your minimum mash time, accounting for foreseeable growth. Rate is a function of roller width. (Grist cases stage completed batches so the mill can catch up between brews.)
Grind Control:
Controlling your grind will allow you to hone in on and maintain the notes you want in your beer or spirit because it will reduce variations. Grind control is controlled mosly by the number of rollers and quality, but mainly number of rollers.
Quality:
The quality of your mill will determine how long the rollers stay in-tune, how quiet it is, how long it lasts, and how much dust escapes. The cheapest brand most brewers can get away with is RAD, which start around 10k. Larger breweries and most distilleries, (corn is harder on mills) need a better make. We personally recommend and use RMS for high quality brewing applications. For distillers who want to use only roller mills on corn, we carry 3+ pair rollers from MPE. But these mills can be 6 figures.
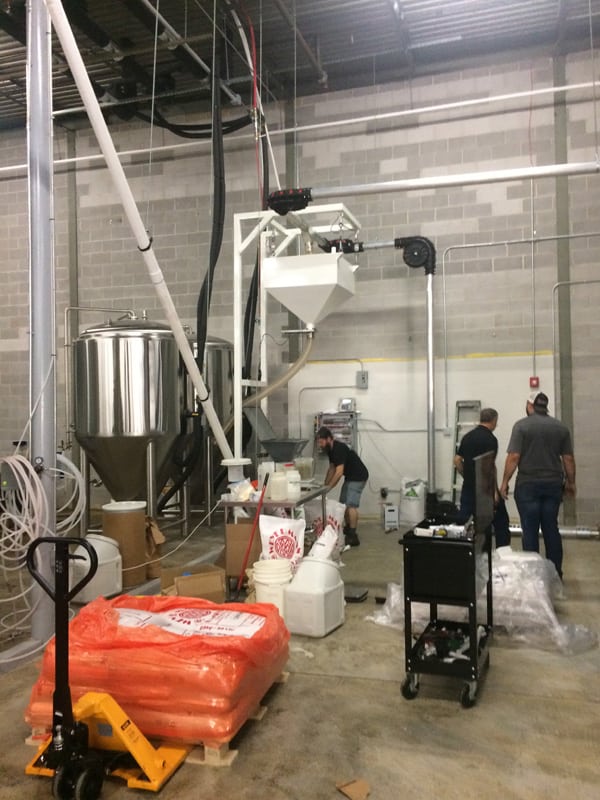
Conveying
The more surface area grain has, the less time it needs to spoil. And since milled grain has exponentially more surface area and thus starts to spoil immediately, the goal is to convey as gently and quickly as possible. Reducing conveying time and friction (especially from mill to mash) will increase yield and reduce dust.
Augers:
PROs: Low entry cost
CONs: Tough on product, noisy, slow, create head-smacking and tripping hazards, ineffective about tight corners and >40° slopes, and ugly
Tubular Drag (Chain-Disk):
PROs: Fast, quiet gentle on product, durable, modular, scalable, create less dust, and more aesthetically pleasing
CONs: More expensive than augers
(Cable-and-puck systems can have their uses but are more expensive and wind up over time.)
Chain Conveyors:
PROs: Ultra-fast, ultra gentle on product.
CONs: Take up a lot of space, somewhat expensive.
Key Points To Remember
Don’t buy mills with brewery branding – they’re the same standard roller mills everyone else uses with a higher price tag. (When Monster came out with Beats headphones they also sold the unbranded version of them for a third of the price (and still do) but they’re not nearly as popular. Just stick to the specs.)
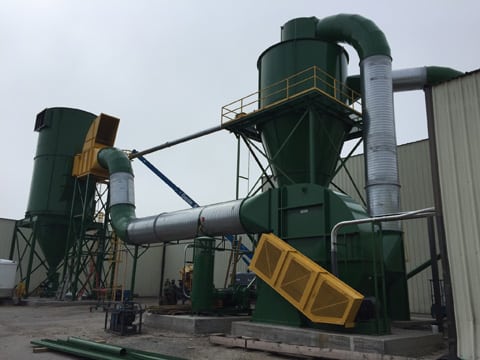
Dust Collection
Excessive airborne debris is hard on the lungs and creates cleanliness and safety issues, particularly when wet. Again, it can also attract insects and rodents. A brewery’s need for dust collection is completely situational. Some small breweries create so much dust that they’re necessary and some large breweries create so little that they’re not. It depends on a lot of factors like the process itself, how contained the mill area is… who integrated the grain handling system, etc.
You can read more about dust collection systems here.
Key Points To Remember
The main reason cities want you to have dust collection is because most the grain in the applications they’re used to is explosive. Most the grain you mill will not be explosive, but some is, like whole barley malt.
Unfortunately, many cities have strong opinions on this and will make the decision for you.
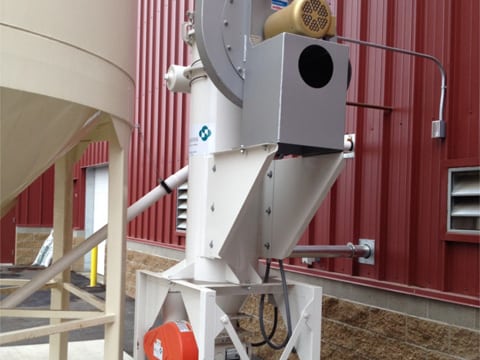
Fortunately, dust collection systems come in all shapes, sizes, and are occupying progressively smaller footprints.
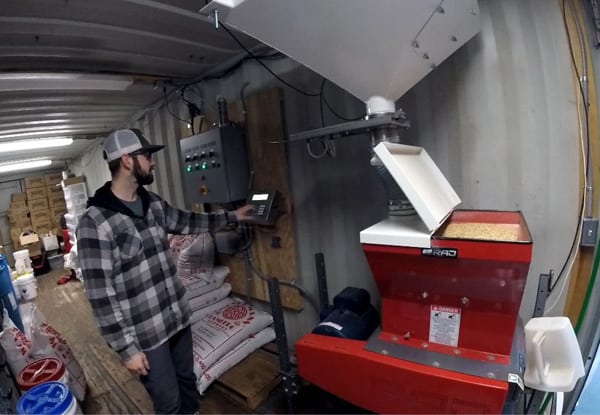
Automation
The devil’s in the details, and automated malt handling eliminates a lot of time-consuming tasks and reduces brain clutter. There isn’t a particular threshold where you should begin thinking about automation because once the equipment is in place the cost of basic automation is negligible.
Most brewers use a controller with programmable recipes that will automate their inputs. And many brewers will weigh the grain at each source, but this is not necessary. Scale packages are used to weigh all your inputs from a single point in 100 lb. intervals. Not only is this much cheaper, but it’s more accurate and precise because it can average the errors of each pull into mill. You can read more about this solution here.
Software
Of the hundreds of software packages made specifically for brewers, we haven’t found a single one that handles grain conveniently, so we made our own. Out of the box it can control any grain handling equipment, and it has the option to control the entire brewing process.
Spent Grain
Having been soaked but never reaching boiling temperature, spent grain spoils fast and dries hard. It smells, it’s heavy, and no one wants to deal with it. But with some diligence, up-front investment, and a plan, it can be relatively painless.
Disposal Options
Spent grain can be composted, but you’ll be creating so much of it that you’ll want to sell or give it to a farmer take it for livestock. If they know it’s around, cattle (mainly cow and pig) farmers will be happy to have it, but there needs to be a pick up at least once per day. Livestock tend to like grains as smelly as possible, but the shelf-life of wet grains is short—even for them. (Spent grain can be used for chickens, but only after drying and pelletizing. More on that in a minute.) The other option is upcycling it into human food as flour or cereal/grain additives, for example.
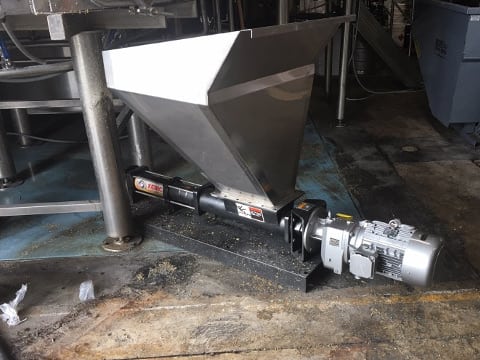
Pumps:
Pumps will run you 50-100 grand, so it’s up to you whether the savings on labor, liability, and messiness are going to be net positive. As a rule of thumb, they start paying for themselves when you’re reaching capacity on a 15bbl system. More can be read about these on our pumps page, but essentially the options are Ponndorf (less expensive but work fully on air so require consistent tinkering), Netsch (good company but their rubber stators WILL burn out), and Xeric (good pumps but were not reliable when one of our customers needed a warranty claim filled). We are currently working with another solution but can’t list it in this guide until its vetted.
Key Points To Remember
Traditional cavity pumps burn out quickly when running dry. Some of them have thermal shut-off sensors, but as they rely on heat generated from running dry, the damage is done by the time they’re triggered. For this reason we currently use Ponndorf and are working on other experimental options.
Spent Grain Silos:
Any type of smooth-wall steel silo is acceptable for storing spent grain; the important things are capacity and cone slope (typically 60°). Ideally they will be raised enough that trucks can get under them and will store 2 days’-worth of grain in case pick-ups are missed or there are unexpected increases in production.
Dewatering Centrifuges:
Historically, dewatering spent grain has been a distiller’s game—and they only did it because they were distilling “off the grain” (removing the spent before distillation), or because their city required it. And today, these are still the main reasons. But as upcycling and re-using spent grain becomes more prominent, some brewers use it to improve efficiency of their driers. The best dewatering centrifuges on the market take moisture content down to about 25%, which is beneficial no matter what you do with it. It makes disposal cheaper, grains last longer, and drying more efficient.
You’re An Expert!
We hope this guide was useful; if you have any questions, comments, or want a quote on a system, give us a call or fill out the form below!